
Hi there! I'm here again with a Stampendous! Blogstar post! Today I am playing around with Splash Inks. They are acrylic paint/inks but are very pigmented and very fluid - almost watery. When you paint with them it's much like watercolour painting and therefore, a little different for me. But it was great fun!
Today I used two stamp sets:
Cling Fall Float House-Mouse Designs®
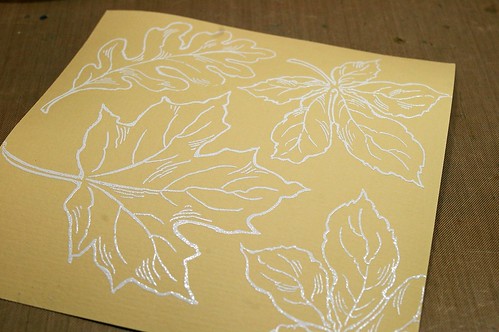
I first started by embossing the jumbo leaves with white embossing powder on cream cardstock.
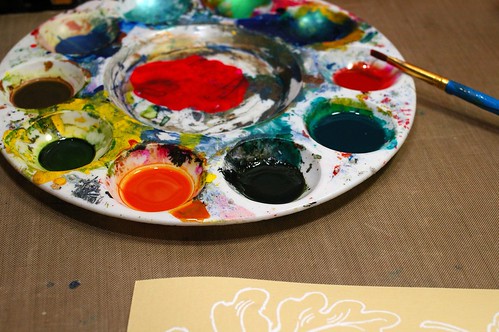
Here's my well-loved palette and my Splash Inks all mixed and ready to go.
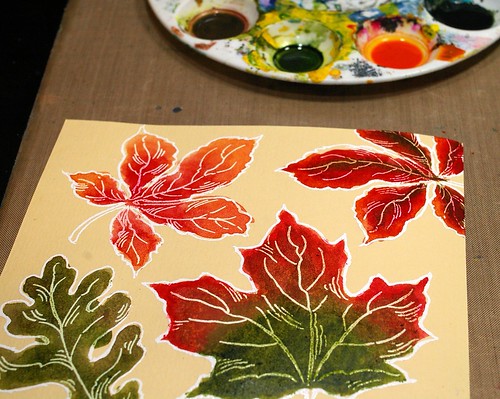
Embossing the images really helped to keep the paint in the lines, haha!! (Except for a boo-boo here and there...) I found I had to wet my brush, dip it in the ink, then add colour to the paper and repeat. (Add water to the brush each time) The colours are really intense and the water helps it to flow a lot better.
Next, I filled in the background:
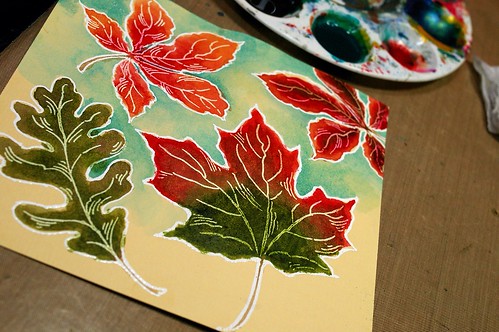
I mixed up a pretty turquoise blue and was able to hide my boo-boos by going a little darker in strategic areas. This step definitely had a lot of water mixed in. In the center it was 50/50 ink and water.

After the paint dried I inked the edges with brown distress ink. The colours just POP when you do this.

I coloured the image the same way I did the background, except I had no embossed barrier to help me! I just love how the leaf turned out though... When it comes to nature, I always Google it!

Here's the finished product:
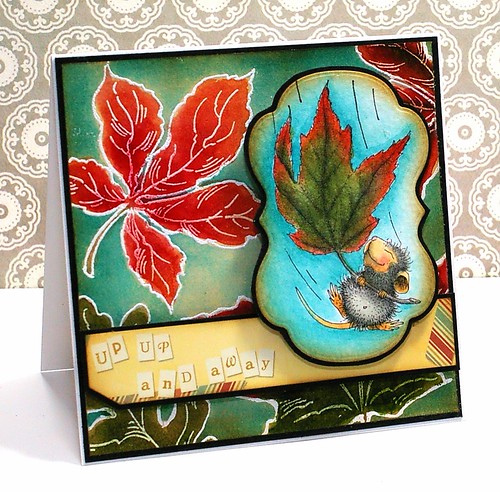
I found a tag in my stash that had this sentiment on it - it's perfect, right?
Thanks for joining me today!

3 comments
Absolutely stunning card! Love how you used the inks as a paint palette! Beautiful colours that you came up with! Jennifer, Calgary
ReplyDeleteOh My Tobi, this is outstanding!
ReplyDeleteGorgeous!
ReplyDeleteThank you for commenting!